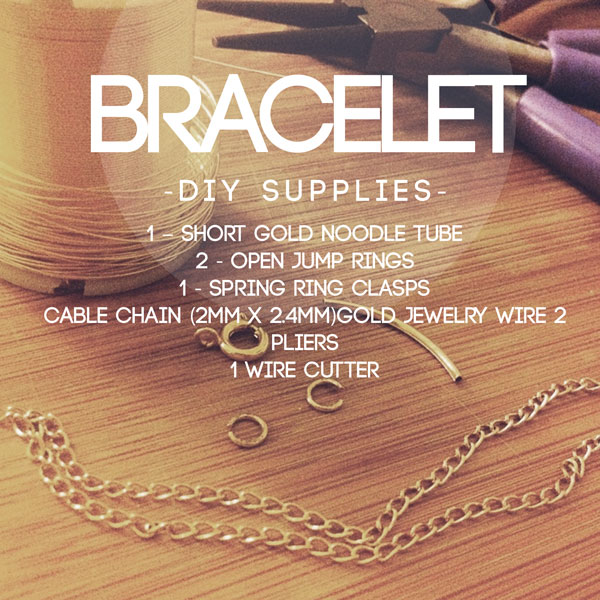
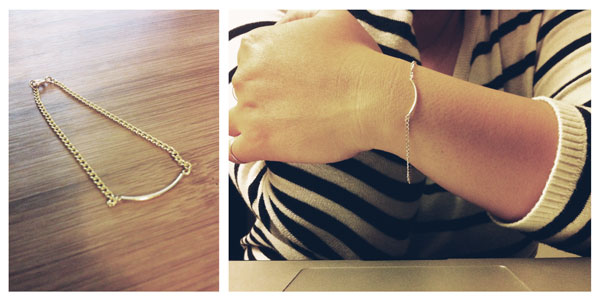
Here is Part 2 of the DIY Gold Necklace and Bracelet set!
If you just stumbled up this DIY post check out the DIY Necklace Post ! These two are a set and perfect for gift giving just like our featured designer Kristine showed us in the last post, I love her rad wrapping ideas for these pretty little gems!
Thanks again Kristine for being such an awesome contributor to Little Woodland Friend, we are so looking forward to featuring your graphic design and invite work!
Step 1. Begin by measuring the desired length of your chain. I measured my bracelets to be 5.5”-6” inches long.
Step 2. Cut the chain in half.
Step 3. Cut a piece of beading wire. You want it long enough to easily handle. I cut mine to be about 6”-7” long.
Step 4. Loop one end of the wire through one end of the chain and twist the wires a few times to tighten the hold on the chain. Then feed both ends of the wire through the gold noodle tube. Once you’ve fed the wire through, loop one end of the wire to the other length of chain and gently twist the wires shut. Cut off excess wires. You want this to look nice and neat, so twist it just a few times and trim as close to the end as possible to blend it seamlessly with the chain.
Step 5. With your pliers in either hand, gently pry open one of the jump rings. Hoop the spring clasp and one end
of the chain to the jump ring, then gently close the jump ring to complete your perfect circle again.
Step 6. Again, using your pliers, gently open the second jump ring and hoop the other end
of the chain to the ring.
Close the jump ring to complete a perfect circle.
If you prefer to purchase this set feel free to contact Kristine via e-mail :
kristine@red-letter-stationery.com
Here are a few links to find the supplies featured in this DIY post:


No comments:
Post a Comment